Our Master Bedroom Before and After

We have been living in our current home, which we are renting, for 4 years. It was supposed to be only for a few years and then we would buy something but then house prices shot up like insanely crazy, so here we are. In the meantime I do not let that deter me from creating a home with my stamp on it. We can't renovate but we can change out furniture, add drapery, lighting and add layers through accessories, rugs and pillows.

Our master bedroom finally got a bit of a makeover.  After 26 years sleeping on a queen we treated ourselves with a king mattress which spurred a bit of a bedroom re-do. I kept our current dressers and end tables at their current layout. The husband normally has no design opinion except for a few, our bedroom being one of them. He likes the dresser set up and having his side of the room dresser free. It's just so he has room for all his piles...


Here is what the room looked like when we moved in. It's a huge space and there is one wall that is curved. I am still stumped as to what to do with that side.


Now after adding layers on the windows, a new bed and lighting, I find it more cozy and inviting.


A few years ago I sewed the Roman blinds that are on the windows but I finally got around to purchasing drapery rods and drapes. My go-to drapes are from Ikea. Cheap, simple and easy to hang up.


We bought new bedding from Homesense, and a duvet cover from Superstore. But I am on the lookout for a nice linen one. Our feather duvet is from Amazon. I originally bought wall mounted lamps from Amazon but they were horribly cheap and fell apart. Amazon reimbursed me and I went to Home Depot and picked up these lovelies. Can't beat the price of $39 each. I like the traditional look they have. I love how they match the bed frame from Crate and Barrel perfectly!
I am still on the lookout for a bench or settee for the end of the bed and maybe an area rug.


Looks and feels so much better! Thanks for stopping by!


Painting a Table with Fusion Mineral Paint


Hello friends! Finally it feels like spring around here which spurns on painting projects! 

I was asked to be part of a Spring Blog Hop featuring Fusion Mineral Paint Tones for Tots line that features a beautiful soft pastel palette.


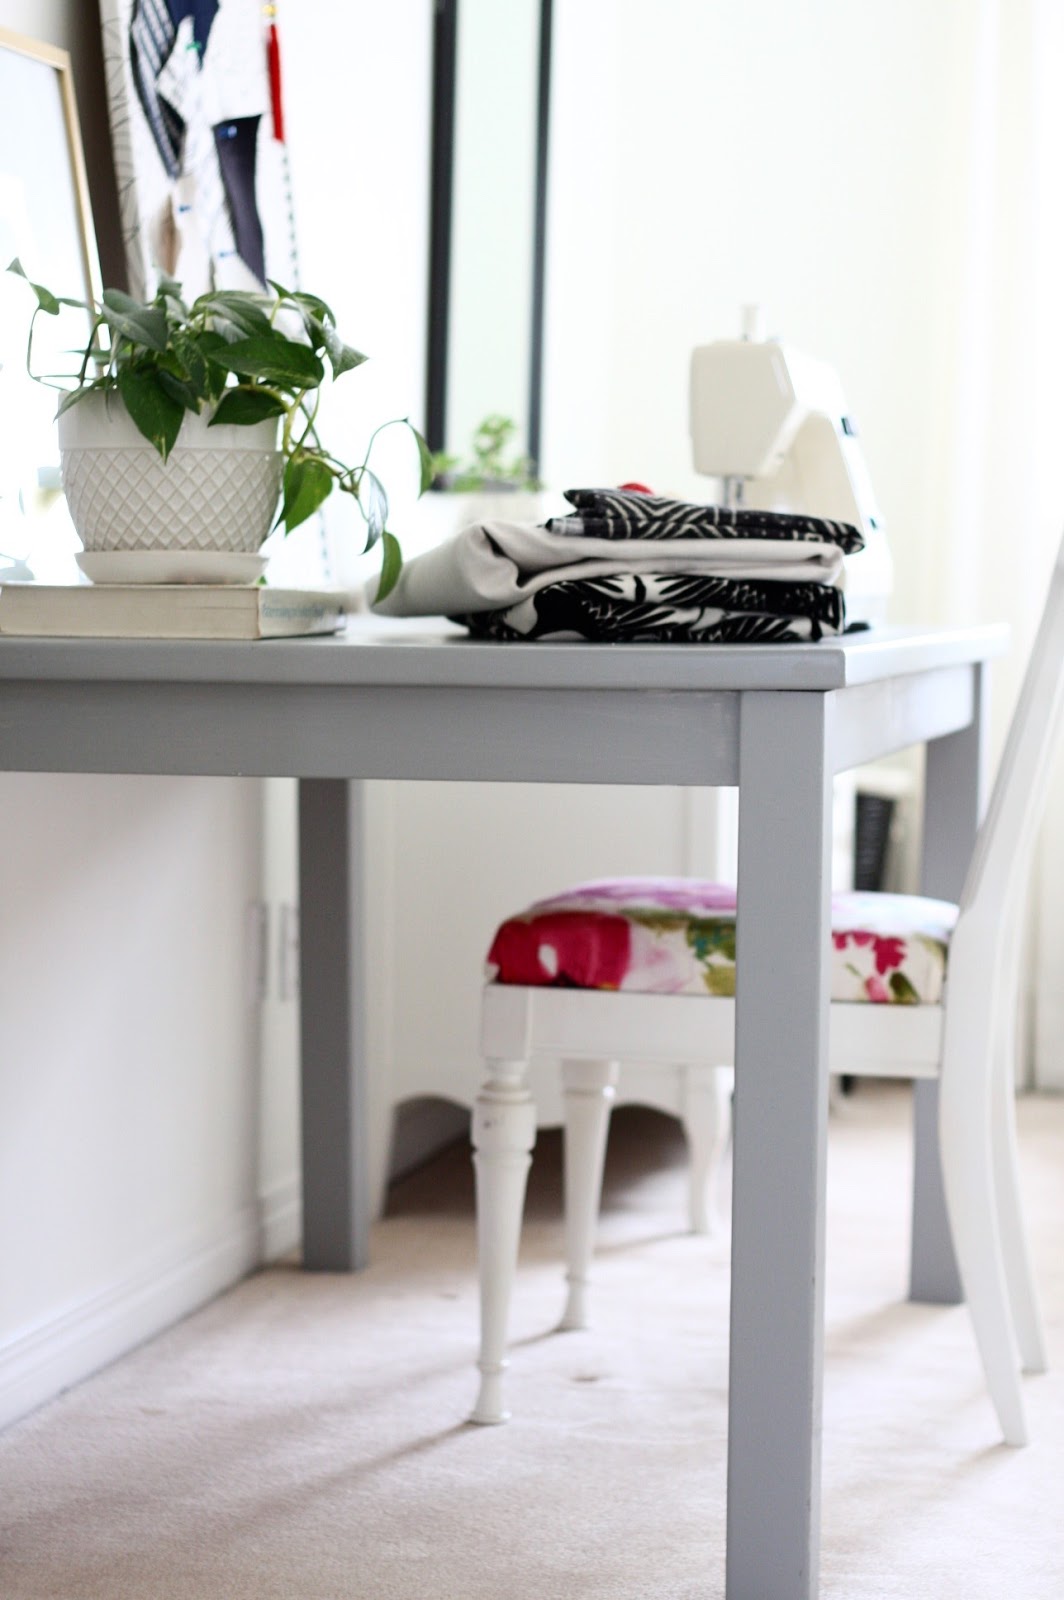
I had just the project in mind: a sewing table. Wanting to take over one of the bedrooms upstairs to convert it to a sewing studio, I needed a solid sturdy table for my sewing machine and serger. Scouring Facebook Marketplace, I found a solid pine table for $60. After giving it a light sand, I used Zinsser Bin Primer with Shellac to seal the knots and to avoid bleed through.


I am no painting virgin, having painted many, many walls and furniture, I have used many different types of paints and primers but never tried Fusion Mineral Paint. Wanting to know what all the fuss was about, it was a no-brainer when asked to try. I chose Little Lamp from their Tones for Tots collection and Tough Coat Matte Wipe On Poly since this table was going to get heavy used.

Normally, I use a roller when applying paint on a large flat surface. I tried, but found it bubbled too much. Using the Fusion Mineral paint brush I smoothed out the paint and it went on like a dream! Drying to a gorgeous matte finish with no brush strokes! The coverage is phenomenal and has no smell. Unlike chalk paint, you need to let the paint dry for a few hours before you can apply a second coat. I waited a day after painting to apply the wipe on poly. It was easy to apply, simply wiping it on with a damp old rag from a t-shirt.

You can see the results below, I am pretty pleased.


Now I need to dust off the machine and get busy!