~Map Mod-Podged Monogram ~

I have been feeling particularily crafty these past weeks. It must be an avoidance tactic, avoiding finishing real projects around the house.

So....
Here is another simple (and cheap) project that is seen everywhere... 

but I like it. 

One of my favourite bloggers and friend, Alissa at 33 Shades of Green, made some decorative letters for her home and I decided to try it for my son's room.

Are you dying to make one? Here's how....

First you will need a wooden letter. I bought mine at Michaels.


Next, paint the edges using a colour of your choice and method of your choice. I used black craft paint but you could use spray paint, leftover wall paint, etc.


After a few coats of paint have dried, lay the letter on an old map, trace and cut it out. 


*Make sure you lay it right side up. I laid it wrong side down, and then when I wanted to glue the traced piece out and it was backwards - sheesh!


Using mod podge glue the paper piece onto the wooden letter, smoothing out bubbles. Then paint a thin coat of mod podge over the entire piece and let dry. Oops  - forgot to take photos of that step!


And then...

Voila!


One more week and the kids are back at school. Hopefully I can get into a routine again and finally finish my daughter's room (I have really procrastinated on that one!)

Also....

Thanks to Jen at Tatertots and Jello for featuring my subway/eyechart art that I made for my son's room!


Linking to:
Frugal Friday @ The Shabby Nest
Frugalicious Friday @ Finding Fabulous


~Subway/Eyechart Art ~


My daughter and I had fun one evening with some plain canvasses I had laying around. While she worked on an art piece for her room, I created a piece for my son's room. 


Since subway and typography art is all the rage I thought I would jump on the bandwagon but add a little twist. I love the look of eye charts as well and mixed the two to create something unique. Using the quote" May the force be with you," I created an one-of-a-kind original for my Star Wars fan.


How-to:

Start with a canvas and paint it black (or leave it white to create a classic eye chart). 


Using the computer print up your quote, playing with the font size and arrangement. Classic Snellen eyecharts use the "Courrier" font, which is what I chose to use as well. You can create your own Snellen eyechart here or just play around on the computer until you achieve the look you want.


Next would be to arrange the lettering on your canvas.


Originally I was going to trace the outline of the letters and paint them in but wasn't confident in my detailing-with-paint skills so I highlighted the font with the computer to make the letters white.

Using scissors I cut out each letter and adhered it to the canvas using Mod Podge. I then gave the whole piece a thin coat of Mod Podge.
(hodge:podge does Mod Podge - has a nice rhyme :)


Source: Plaid Products

(This is where it was late, hence bad lighting, and I forgot to take more photos - sorry)


Voila!


I added the subway/eyechart art to a gallery wall I arranged in his room. My son is a collector of sorts and loves to hold onto things that are special, why not display them for all to see?


See the monogram "A"? Come back next week and I'll share how I made it!


I am slowy getting back into a more regular schedule as our summer holidays are winding down, 2 weeks left! My hope is to bring you more projects as I finish them. We are possibly re-arranging 3 bedrooms in our house, moving kids from one space into another to create a games/office room for the kids to hang out. 


Do you know what that means? More rooms to paint and re-design! Just when I thought my to-do list was getting smaller....


Sharing at:

Power of Paint @ Domestically Speaking


~Silver Leaf Lamp's New Home~


Remember the thrift store lamp that went from this


to this using black spray paint and silver leaf? 

(Want to silver leaf? Read how I did it here)


Let me refresh your memory with a trip down memory lane.


This lamp, from now on referred to a "she" was not wanted in our bedroom by a certain husband. He loathed this lamp and sent her to the garage.

She has finally taken up residence on a Craigslist find in my daughter's soon to be finished bedroom. 


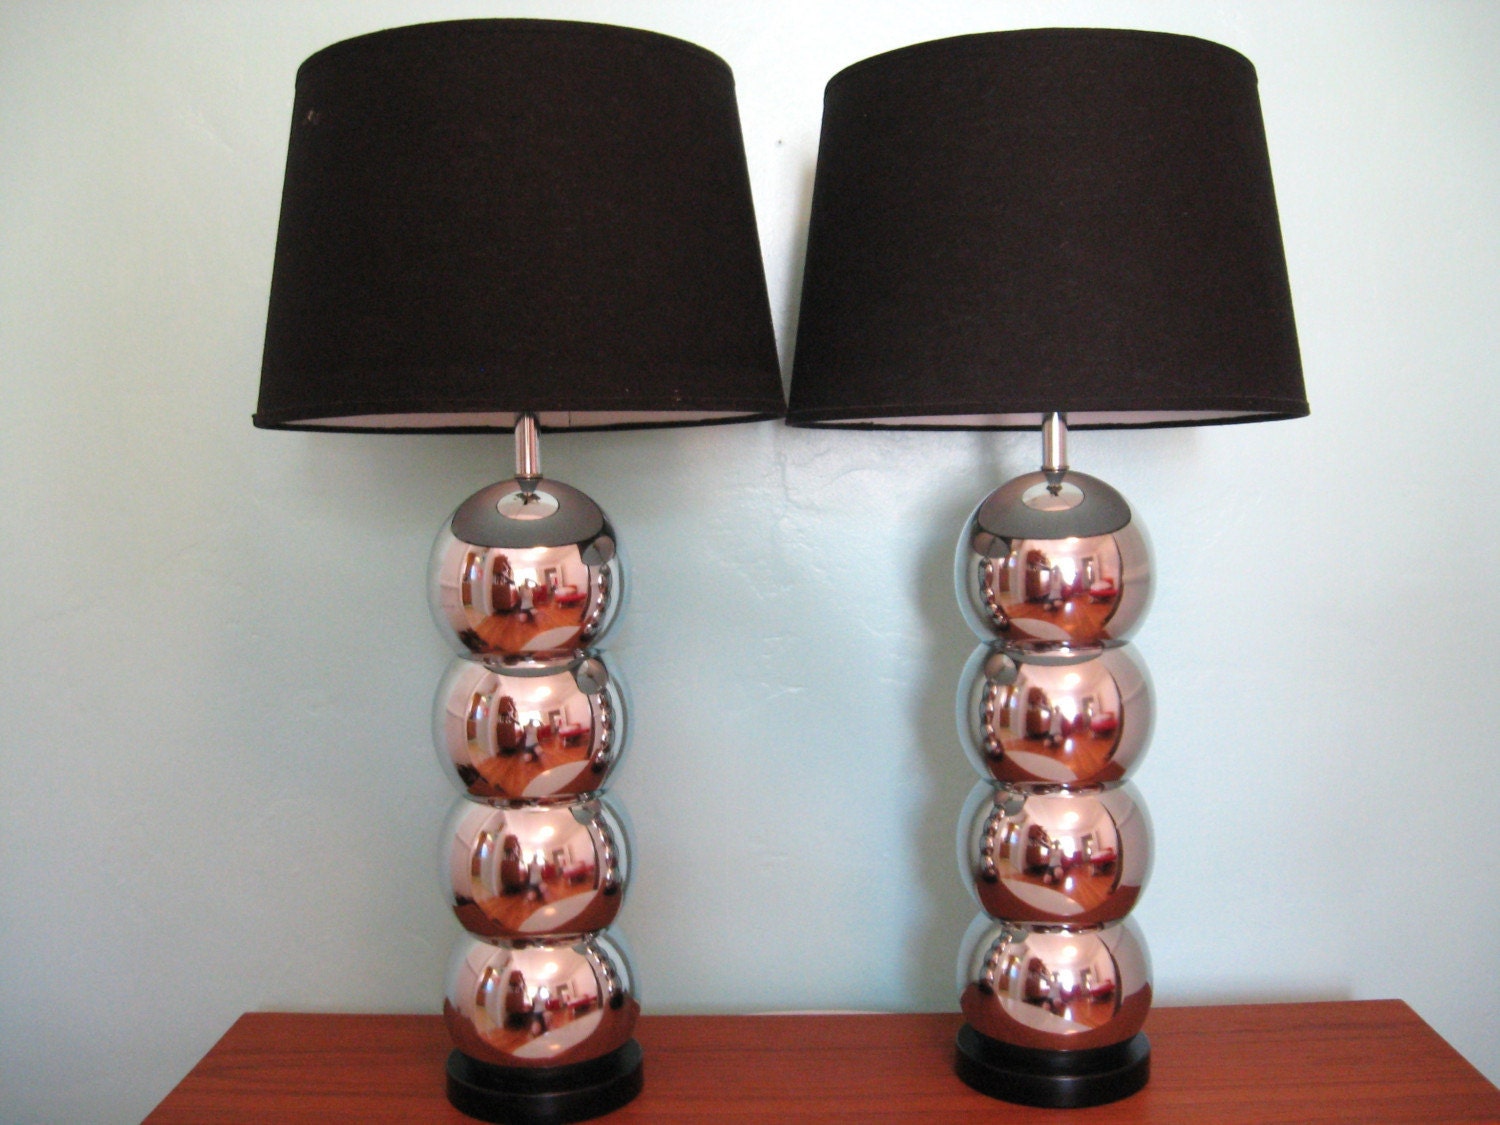
I think she goes well with this lamp I found at Homesense. 

They make such a nice pair...


What is icing on the cake is that I am spotting this style of lamp in decor magazines and on various sites. 

Like this one from the etsy seller from fabulousmess


or this one via decorpad


or these vintage lamps via design*sponge


Ahhh... great minds think alike.


~Renewed Energy~


After enjoying some wonderful R&R visiting Banff, Jasper and family at the farm, I am ready to tackle some projects that were left unfinished.

Mt. Robson (my husband took this amazing photo)

I have finished drafting the pattern for the upholstered headboards. Just need to sweet talk the husband into cutting out the shapes from some plywood and then I can FINALLY finish!

Here is a peak:


Hmm.. here are some projects I hope to tackle (if I write them down on my blog then I have no choice but to show you all the results!)

*Finish both girls' rooms
*Put together final touches on my son's room
*Paint sideboard and bookcases in living/dining room
*Sew slipcovers for dining room chairs
*Art wall up stairwell
*Art wall in family room
(Revamp bulletin board/message center in kitchen

Phew!